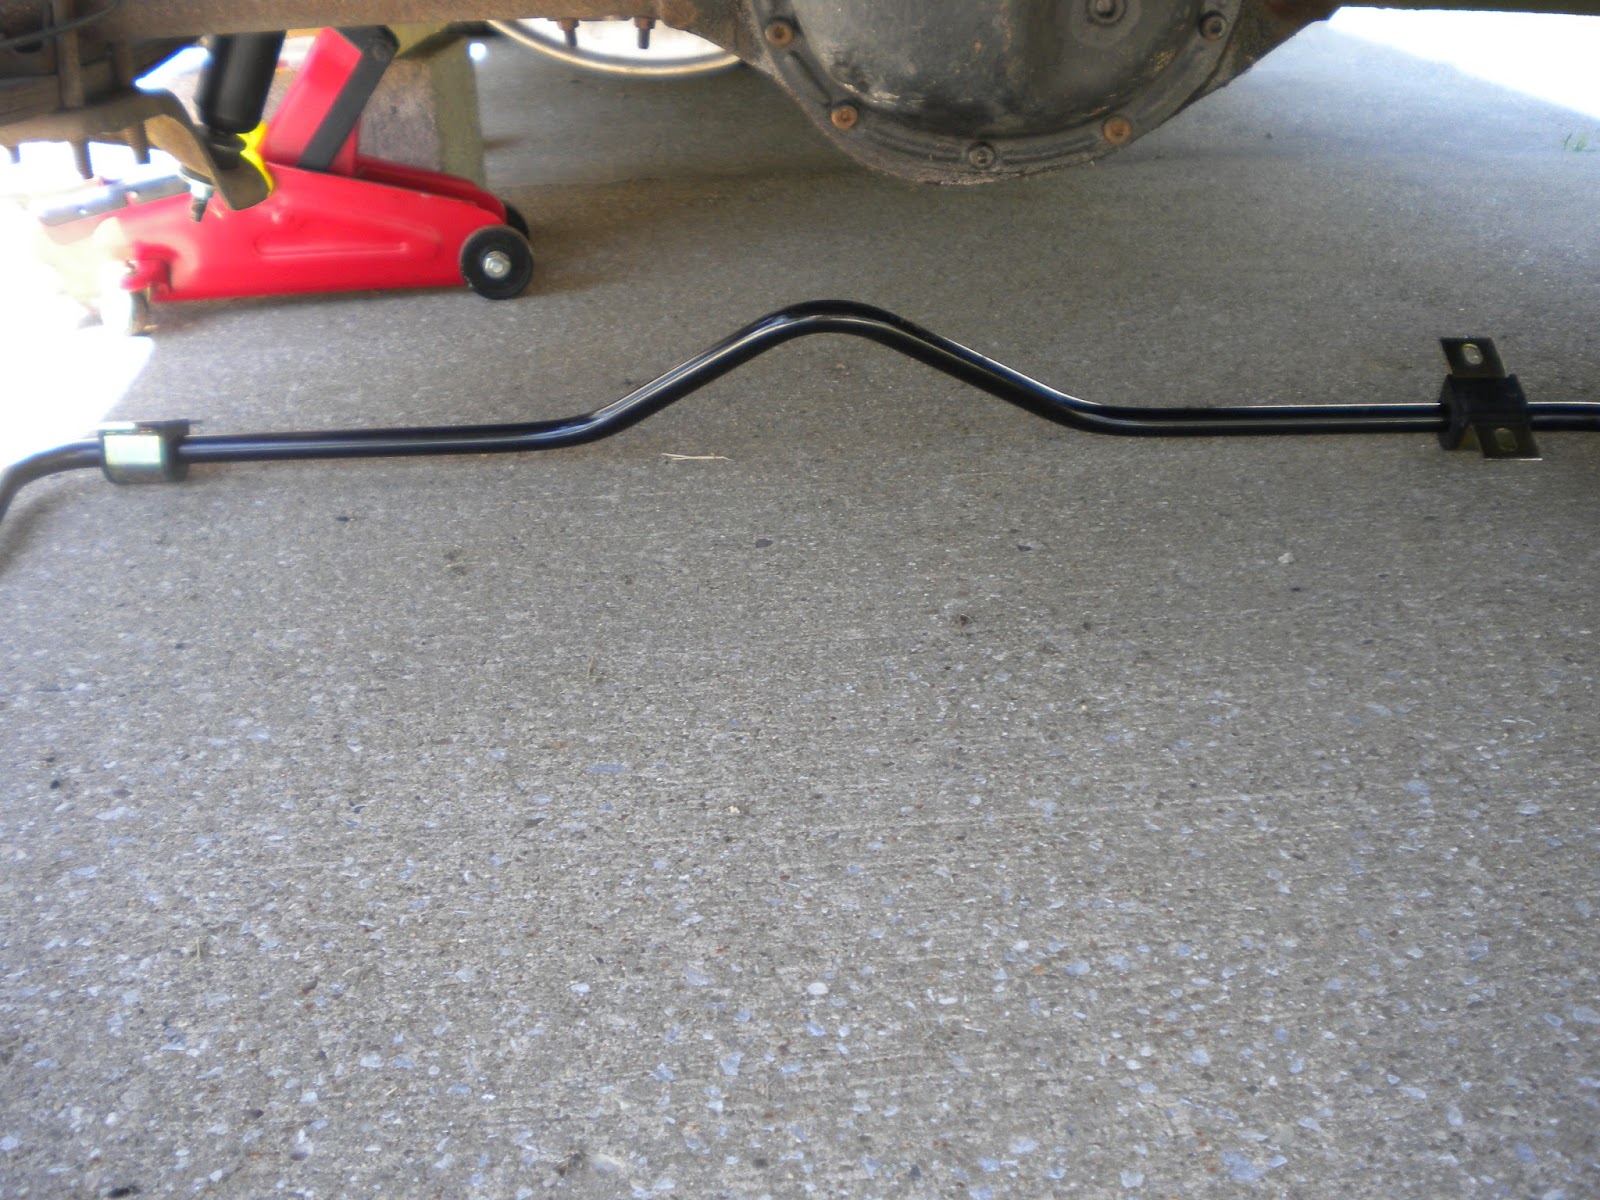
The bar itself is an ADDCO unit, number 915. This is a 3/4" piece that is designed to go over the axle, and has a "V" bend to clear the pumpkin ball. Here is a shot of it under the axle in it's relative position...
Just an FYI... if you buy an ADDCO bar second-hand, Jegs has pdf's of the instructions on their web site. You just need the ADDCO item number.
If you take the time to pre-assemble the bar links, it is useful during the installation. Threading the bar mount bushings over the bar eyelets before snaking it over the driveshaft will be useful as well.


Next up I loosely assembled the end-links to the leaf spring, as close to the spring plate as possible aft of the axle. I tightened everything snug but not to final tightness. The bar-to-chassis mounting HAS to be done with the car on its wheels. I removed the left rear tire to insert the bar, so I put the tire back on and lowered her off of the stand.
Guess what? There is no room for a real person to work under a Hornets' rearend! Expect to hit your forehead on the pumpkin ball frequently. Also expect to need additional bends in your forearm and biceps. I have neither. To attach the bar to the frame, you need to drill two 3/8" holes in the frame rail on each side. There are square shoulder "U" bolts that have to be threaded up, into the frame cavity, then back down into the daylight. This is as much fun as it sounds like. I ended up having to elongate all four holes to make it work. I did the passenger side first (for no real reason) and it went pretty well after elongating the holes. The drivers side proved a greater challenge. First because I had to remove the shock (Hornets have staggered shocks). Second because I didn't elongate my holes quite enough, and the "U" bolt got stuck in no-mans-land. I couldn't push it through, and I couldn't pull it back out. I didn't panic, but I considered it! Eventually, after much not panicking, I got it in place and snugged the fasteners.

Once I was satisfied that I had everything lined-up and where I wanted it, I tightened all of the nuts to what felt like the correct torque. The instructions don't give torque values (and have a "we're not responsible" disclaimer), so I tightened by feel. In other words, until they wouldn't move, plus an extra grunt.
I haven't test driven it yet, but the factory performance oriented Hornets had a similar bar... so it's gotta help, right?
No comments:
Post a Comment